

Essential Guide to Packing Food for Moving
April 22, 2026
Key Highlights for Packing Your Food for a Move
- Start by taking inventory of all your food items a month before your move.
- Sort through your pantry items and decide what to keep, donate, or discard.
- Plan your meals to use up perishable items and reduce food waste.
- Gather essential supplies like sturdy boxes, packing paper, and airtight containers.
- Learn the correct way to pack dry goods, fragile jars, and frozen food for your move.
Packing your stuff for an upcoming move is tough enough, but packing your food and perishables can be tricky when it comes to timing and how to pack them up. When packing the rest of your home, you can and should typically pack early and often once your moving date is set. With your foodstuffs, that can be a bit more challenging.
Whether you're working with a moving company or doing it yourself, knowing how to pack your food will make your move smoother.
Essential Guide to Packing Food for Moving: Top Food Packing Tips
The packing process for your kitchen and food items can feel overwhelming, but a few simple tips can make a huge difference. Properly handling your food items ensures they arrive safely and helps you avoid a mess. It's all about being organized and planning ahead.
From sorting your pantry items to safely packing dry goods, each step is important. These strategies will help you get your food ready for the move and make setting up your new kitchen a breeze. Let's look at some of the top food packing tips you can incorporate into your upcoming moving process.
1. Take Inventory and Sort Your Food Before Packing
About a month before your move date, it's a great idea to see exactly what you have. Go through your pantry, cupboards, refrigerator, and freezer. Make a list of all your food items. This will give you a clear picture of what needs to be packed, used up, or given away.
As you take inventory, check the expiration date on everything. You might be surprised to find items that are already expired or will be soon. This simple step helps you declutter and ensures you only move food that is safe to eat. Group items into categories like canned goods, dry goods, and frozen foods.
Creating a list makes it easier to plan meals and decide which pantry food items are worth moving. Knowing what you have is the first step to an organized and efficient packing process for your kitchen.
2. Decide What to Keep, Donate, or Discard to Reduce Food Waste
Once you know what food supplies you have, it's time to sort them. This is a perfect opportunity to reduce food waste. You can divide your pantry items into three piles: keep, donate, and discard. This helps you avoid throwing away good food and makes packing much simpler.
For the discard pile, get rid of anything that is expired, spoiled, or opened, and anything that won't travel well. For the donate pile, set aside unopened, non-perishable items. Local food banks are always in need of donations and will gladly accept your extra food.
Here's what to do with your sorted items:
- Keep: Items you'll eat before the move or are worth packing.
- Donate: Unopened, non-expired canned and boxed food.
- Discard: Expired, opened, or spoiled items.
3. Gather All Necessary Packing Supplies for Food Safety
To pack your food securely, ensure you have the right supplies on hand. Using the proper materials is crucial, as it helps prevent spills, breakage, and spoilage during transit, which can be a significant concern when moving. Having everything organized and ready before you start packing will undoubtedly make the entire process much smoother and more efficient.
When it comes to choosing boxes, opt for sturdy ones, particularly for heavier items such as canned goods. Small to medium-sized boxes are ideal for this purpose, as they are easier to lift and less likely to break under the weight of their contents. Additionally, for fragile items such as glass jars or bottles, it is essential to include extra cushioning to ensure their safety during the move.
As you prepare to pack, gather a variety of essential packing supplies to support food safety. Sturdy boxes in small and medium sizes are a must-have, along with packing paper that can help protect items from damage. Bubble wrap is particularly useful for safeguarding any glass items, while airtight containers are perfect for storing open dry goods, ensuring they remain fresh and uncontaminated. To seal shakers and dispensers, masking tape is an excellent choice, preventing any accidental spills.
Don't forget to have permanent markers handy for labeling all your boxes, making it easier to locate specific items when you reach your new home. This comprehensive preparation will not only protect your food items but also streamline your moving experience.
4. Plan Meals to Use Up Perishable Items Before Moving Day
A few weeks before your move, focus on using up your perishable items. This is a great way to clear out your fridge and freezer. Stop major grocery shopping and get creative with the ingredients you already have. This saves you money and reduces the amount of food you have to deal with on moving day.
Plan your meals around the perishable food items in your kitchen. Think about what needs to be eaten first, like fresh produce, dairy, and meat. You can make soups, casseroles, or stir-fries to combine different ingredients.

Here are a few ideas to help you use up what you have:
- Host a "clean-out-the-freezer" party with friends or family.
- Make smoothies with leftover fruit and yogurt.
- Cook and freeze meals for easy dinners in the week leading up to the move.
- Search for recipes online using the ingredients you need.
5. Safely Pack Pantry Items and Dry Goods for Transport
When it's time to pack your pantry items, doing it correctly can prevent spills and messes. Dry goods like flour, sugar, rice, and pasta should be handled with care. If packages are already open, it's best to transfer them into sturdy, airtight containers.
For items like salt and pepper shakers, use a piece of tape over the tops to stop the contents from spilling out during the move. Use small or medium boxes for your pantry items, as they can get heavy quickly. Packing paper can be used to fill any empty spaces in the boxes to prevent items from shifting.
Follow this guide for packing your dry goods:
- Seal open bags and boxes or transfer contents to airtight containers.
- Tape the tops of shakers and spice jars closed.
- Place heavy items, such as cans, at the bottom of the box.
- Pack lighter items like pasta boxes on top.
- Use packing paper to cushion items and fill gaps.
- Don't make boxes too heavy to lift safely.
6. How to Pack Fragile Food Containers Like Glass Jars and Bottles
Glass jars and bottles, such as those for oils, dressings, and condiments, need extra care when packing. These fragile items can break easily, creating a huge mess. Taking a few extra minutes to pack them properly is well worth the effort.
Wrap each glass container individually with bubble wrap or several layers of packing paper. This cushioning will protect them from bumps and jolts during transit. When you place them in a box, make sure they are snug and don't have room to slide around.
Here’s how to handle fragile food containers:
- Check that all lids are screwed on tightly.
- Wrap each jar or bottle with bubble wrap.
- Place them at the bottom of a sturdy box, upright.
- Fill any empty spaces with packing paper or towels to prevent shifting.
- Clearly label the box "FRAGILE" and "THIS SIDE UP."
7. Best Practices for Packing Frozen and Refrigerated Foods
Dealing with frozen food and other perishables from your refrigerator can be one of the trickiest parts of the packing process. Unless you are moving a very short distance, it's usually best to use up, donate, or discard these items. Most moving companies have rules against transporting perishables.

If you must move these items, you'll need a high-quality cooler and plenty of ice or ice packs. Transfer the food from your freezer or refrigerator to the cooler right before you leave. The goal is to keep the temperature below 40°F to prevent spoilage.
Consider these best practices for packing perishables:
- Try to eat as much frozen food as possible before the move.
- If moving food in a cooler, make sure it is one of your last items to pack.
- Pack the cooler tightly to help items stay cold longer.
- Unpack the cooler and put items back in a refrigerator or freezer as soon as you arrive.
8. Foods to Avoid Packing When Moving to Prevent Spoilage or Mess
While it's great to save food during a move, some items are simply not worth the trouble of transporting. Packing the wrong items can lead to spoilage, messy spills, and considerable frustration when you finally unpack at your new location. Therefore, knowing what to leave behind is just as crucial as understanding how to pack effectively. Generally speaking, you should avoid packing any perishable food items for a long-distance move.
This category includes items such as dairy products, various types of meat, and most frozen foods, all of which have a high risk of spoilage during transit. In addition, open containers of liquids, sauces, or oils pose a significant risk, as they can easily leak and create a mess that can damage other belongings. To ensure a smooth moving experience, it's essential to carefully consider the contents of your pantry and refrigerator.
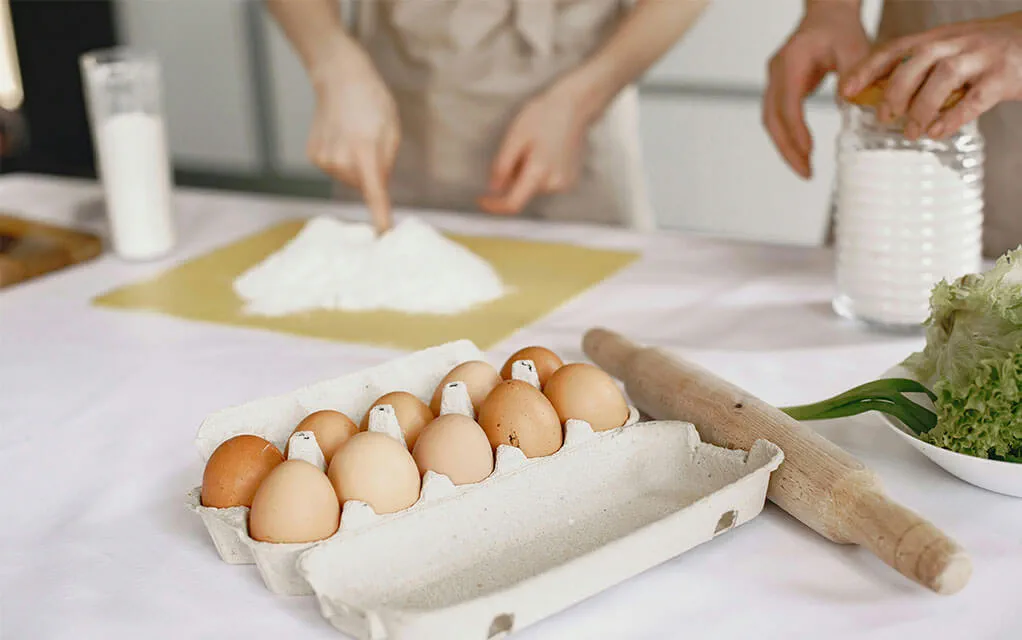
For instance, perishables like fresh produce, dairy, and meat should be left behind unless your move is exceptionally short, as their freshness cannot be guaranteed over a longer journey. Similarly, frozen foods that could thaw and spoil should also be avoided, as they can lead to unpleasant odors and waste. Furthermore, you should think twice before packing open containers of liquids or sauces, as their potential to create a mess during transit can add unnecessary complications to your move. Lastly, glass jars need to be packed with extra care; if not secured properly, they can break easily and cause further issues.
By taking these considerations into account, you can streamline your packing process and make your move more efficient.
9. Label and Organize All Packed Food Boxes Clearly
Proper labeling is a crucial step in the kitchen packing process that can save you a lot of time and headaches later. Clearly marked boxes help your moving company know where to place them and allow you to find what you need quickly in your new home. For food items, good labeling also helps you prioritize what to unpack first.
Use a permanent marker to write on the top and sides of each box. Be specific with your labels. Instead of just writing "Kitchen," write "Pantry - Canned Goods" or "Spices." This level of detail makes unpacking much more efficient.
Follow these tips for labeling and organizing your food boxes:
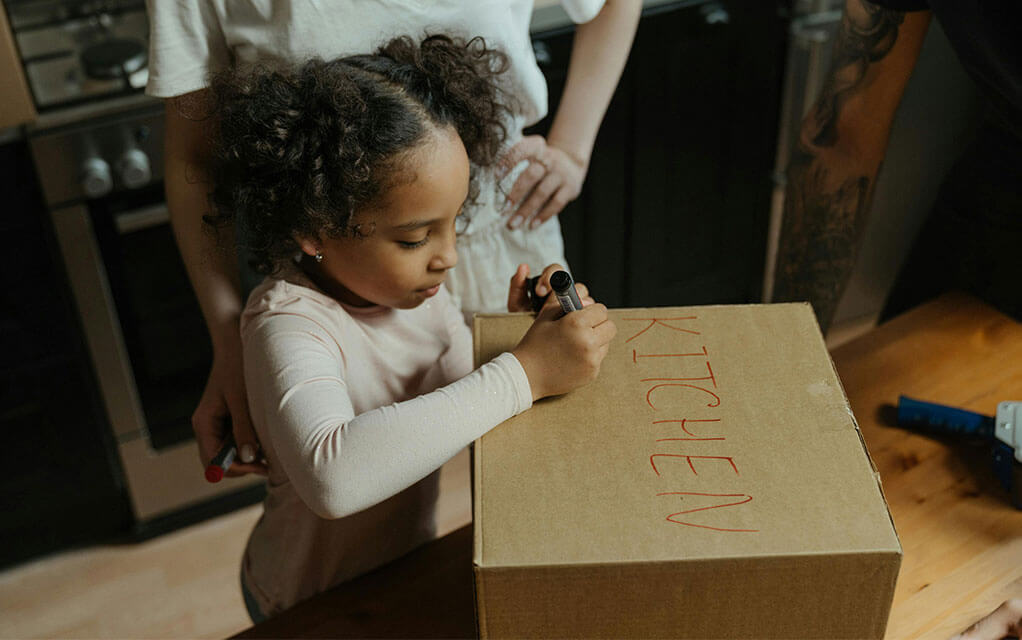
- Label each box with its contents and the room it belongs in - for example, mark a box destined for your new kitchen with the word "Kitchen" marked clearly and largely on it.
- Mark boxes containing fragile items clearly.
- Add a "FRAGILE" or "THIS SIDE UP" warning for boxes with glass containers.
- For easy access, consider numbering your boxes and keeping an inventory list.
10. Tips for Preparing Moving Day Snacks and Essentials
Moving day is long and physically demanding, so you'll need energy to get through it. Since your kitchen will be packed up, it's smart to prepare some snacks and meals in advance. Having an essentials box with food and drinks will be a lifesaver for you and your family.
This box should travel with you in your car, not in the moving truck, so you have easy access to it throughout the day. Pack simple, easy-to-eat foods that don't require any utensils or preparation. This will keep you fueled up until you can get your new kitchen set up.
Your moving day snacks and essentials box could include:
- Bottled water and juice boxes
- Granola bars or protein bars
- Sandwiches or wraps
- Fresh fruit like apples and bananas
- Paper plates, cups, and utensils for your first meal in the new home.
11. Steps for Donating Extra Food to Local Charities
Donating your excess food is a wonderful way to help your community and reduce waste. Many families rely on local food banks, and your unopened pantry items can make a real difference. Before you donate, make sure the food is not expired, and the packaging is intact.
Organizations like Move for Hunger partner with moving companies to make donations easy. You can simply set aside your non-perishable food supplies, and the movers will deliver them to a local food bank for you. Ask your moving company if they participate in this program.
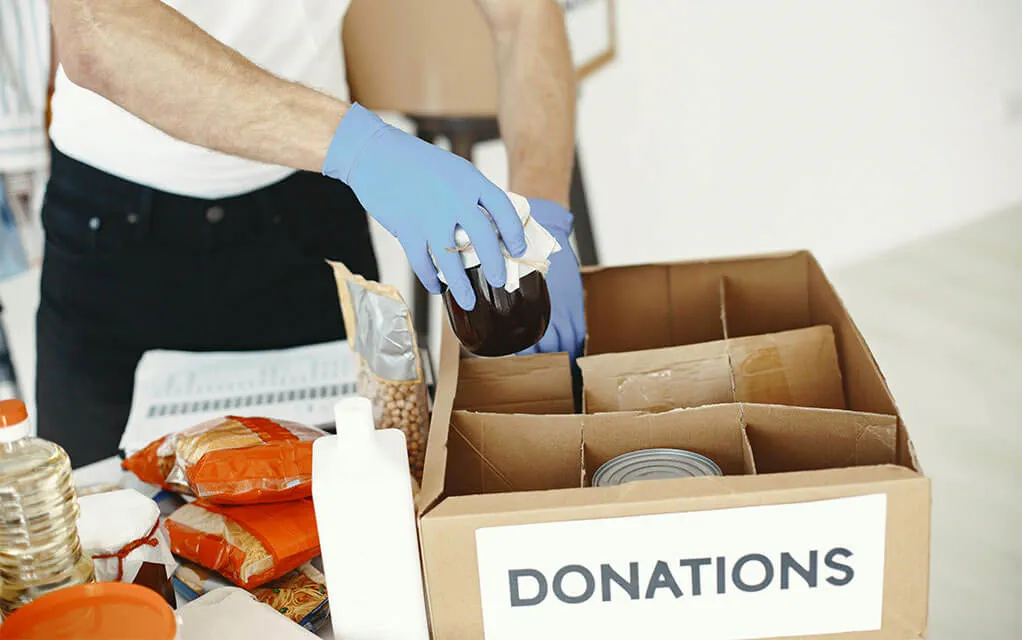
Here is a guide to what you can typically donate:
Accepted Items:
- Unopened canned goods (fruits, vegetables, soups)
- Opened or used items
- Unopened boxed foods (pasta, rice, cereal)
- Expired food
- Sealed jars (peanut butter, sauces)
- Spices, condiments, and oils (unopened)
- Perishable food (meat, dairy, produce)
- Baby food and formula (unexpired)
Prohibited Items:
- Opened or used items
- Expired food
- Unsealed jars (peanut butter, sauces)
- Opened spices, condiments, and oils
- Soon-to-expire perishable food
- Alcohol
Donating your unused foodstuffs is a great way to prevent waste and help those in need!
12. How Early to Start Packing Food for a Stress-Free Move
Starting the packing process for your kitchen early is key to a stress-free move. A good timeline helps you manage the task without feeling rushed. Begin about four weeks before your move date. This gives you plenty of time to take inventory, plan meals, and sort through your items.
Around two to three weeks before you move, you should start packing non-perishable items that you won't need. This includes extra canned goods, bulk dry goods, and special-occasion pantry items. As your move date gets closer, you'll be living off a smaller selection of food, which makes the final packing days much simpler.
In the final week, focus on using up the remaining perishable items. By moving day, you should only have your essentials box and perhaps a cooler with a few last-minute items. This gradual approach makes setting up your new kitchen much easier.
13. Final Food Moving Tips for a Smooth Transition
As your relocation gets closer, a few final tips can help ensure your food packing goes off without a hitch. A smooth transition into your new home depends on good organization right up until the move date. Keeping these small details in mind will pay off.
Before you leave your old home, do a final sweep of the kitchen to make sure nothing is left behind. Once you arrive at your new home, unpack any perishable items immediately. Then, you can take your time setting up the rest of your kitchen and pantry.
Here are some final tips for a smooth food-moving experience:
- Consider the cost of moving food versus replacing it, especially for cheap dry goods.
- If you're moving long-distance, be aware of any state regulations on transporting produce.
- Create a shopping list for your new home to replace items you didn't move.
- Arrange for portable storage containers to make packing at your own pace easier.
- Keep your moving day essentials box with you for easy access.
Let 1-800-PACK-RAT Make Your Upcoming Move Simpler
Once you have your strategy for packing your food items, the next task should be to put together a plan for packing the rest of your home! Packing can take a while, though, so it is vital you start early and work with a moving partner that will help you move your stuff on your schedule and bring the moving solution to you. That moving partner is 1-800-PACK-RAT and our portable storage containers.
1-800-PACK-RAT makes local and long-distance moving a breeze, and here is how we do it: you pick your preferred moving date, and we will bring a container out directly to you - no driving a large truck or moving all in one day. Pack your stuff at your own pace and take as long as you need! When you are finished, we will come out and pick up your container and either deliver it to your new home or store it in one of our nationwide, secure storage facilities. It is that simple.
We also have plenty of resources to help you find the perfect container size for your needs, including a space calculator to visualize the space you will need and a weight limit sheet you can download to stay within our containers' weight limits for your stuff. We have even partnered with trusted third-party service providers to provide professional labor assistance, auto shipping, moving supplies, and junk removal. No matter what your moving and storage needs are, we are the all-in-one solution provider to help you solve them!
Give us a call or go online right now for a free quote to get the process started! Our helpful moving and storage experts are here to make your life easier. Let 1-800-PACK-RAT make moving and storage simple for you today!
Frequently Asked Questions About Food Packing
What is the safest way to pack perishable food for moving?
When transporting perishable items during a move, safety and freshness should be your top priorities. The most reliable method is to use a high-quality cooler with ample ice or frozen gel packs to keep your food at safe temperatures throughout the journey, and to transport it yourself. Make sure to pack perishable goods—such as dairy products, meats, and fresh produce—right before you depart to minimize the time they spend outside of refrigeration.
Once you reach your new home, immediately transfer all perishables into a refrigerator or freezer to prevent spoilage. If your move will take several hours or even days, regularly check the temperature inside the cooler to ensure it remains at or below 40°F (4°C). For added peace of mind, consider using a thermometer in your cooler.
For long-distance relocations, it’s generally safer and more practical to consume or donate perishable foods in advance rather than risk spoilage and waste. Many local food banks and community organizations accept unopened, unexpired perishables. Planning meals in the days leading up to your move can also help reduce the amount of food that needs to be transported.
Almost all moving companies, including 1-800-PACK-RAT, typically prohibit moving food items due to potential issues, such as mold and pests breaching the moving solution to eat what is inside. It is recommended that you move your foodstuffs yourself to avoid any issues if possible.
Are there any organizations that accept food donations before moving?
Yes, many organizations welcome your extra food supplies. You can donate unopened pantry items to local food banks or to charities like Move for Hunger, which partners with moving companies to collect your donations and deliver them to those in need, which is a great way to reduce food waste.
How do I pack dry goods to prevent spills during a move?
To minimize the risk of spills and messes during a move, it’s important to properly pack your pantry items. Start by transferring open dry goods such as flour, sugar, rice, and pasta into airtight containers. For boxed pantry items like cereals or baking mixes that haven’t been opened, reinforce the seals with tape to ensure they stay closed in transit. When packing these goods into moving boxes, choose sturdy boxes that can handle the weight of canned goods and jars. Place heavier items at the bottom and lighter ones on top.
Use packing paper or bubble wrap to fill any empty spaces inside the box—this keeps items snug and prevents them from shifting during transport. Additionally, wrapping glass jars or bottles individually in paper adds another layer of protection against breakage.
What are the best containers to use for packing food when moving?
The best containers are sturdy boxes for canned goods, airtight plastic bins for open dry goods, and bubble-wrapped glass containers for fragile items. For many items, keeping them in their original packaging is fine, as long as you pack them securely in boxes with packing paper.
What should I do with frozen food before moving day?
Your best option is to eat your frozen food in the weeks leading up to your move. Since these are perishables, most moving companies won't transport them. If you have a short move, you can pack them in a cooler, but using them up is the most practical solution. You can also pack a large cooler for a long-distance move and get ice for it along the way to your new home as needed.
- Moving Tips (133)
- Home Organization (27)
- News Releases (23)
- Packing Tips (21)
- Fun Stuff (19)
- Portable Storage (16)
- In the Community (11)
- Moving and Storage Tips (11)
- Storage Tips (10)
- Moving Checklists (9)
- Household Moving (7)
- Moving Company Comparisons (5)
- Moving on a Budget (5)
- DITY Move (4)
- Home Maintenance Tips (3)
- Home Buying and Selling Tips (1)
- Interstate Moving (1)


