

How to Pack Kitchen Appliances and Equipment
April 22, 2025
Updated on February 18, 2026
When it comes time to move bulky or unconventional items, such as large appliances and equipment, the process can seem overwhelming. To address your concerns, 1-800-PACK-RAT has developed a comprehensive guide to help you prepare and move appliances and equipment like a professional! The key to any successful move is carefully planning and having enough help to safely pack all your belongings, including heavy appliances.
Our guide will cover practical tips for packing your kitchen appliances and other household equipment to avoid damage and injury.
Preparing Your Kitchen Appliances and Heavy Items for Your Move
When getting ready to sell your home, one important decision is whether to relocate the appliances, including small appliances like coffee makers and blenders, to your new home, sell them at a yard sale or online, or include them as part of the home sale. It is important to note that dishwashers, heating/cooling systems, and the stove/oven are typically included with a home when sold, so that decision is usually made for you. Selling appliances before your move could save significant time and money since these large and often cumbersome items can be challenging to move. Plus, if you have been considering upgrading your appliances, you now have a prime opportunity to earn money by selling them as an investment toward new appliances for your future home. You can sell on sites such as Facebook Marketplace or Craigslist.
For all appliances you plan to move, clean them with a damp cloth before placing them in a portable storage container, especially if they will remain there for any period before unpacking. If you store something while it is dirty or has grime or crumbs, it will only be dirtier when you unpack it one, two, or twelve months later. All appliances and equipment should be as clean and dry as possible before storing them away during your move to prevent odors. Anything wet will begin to grow mold and mildew during storage.
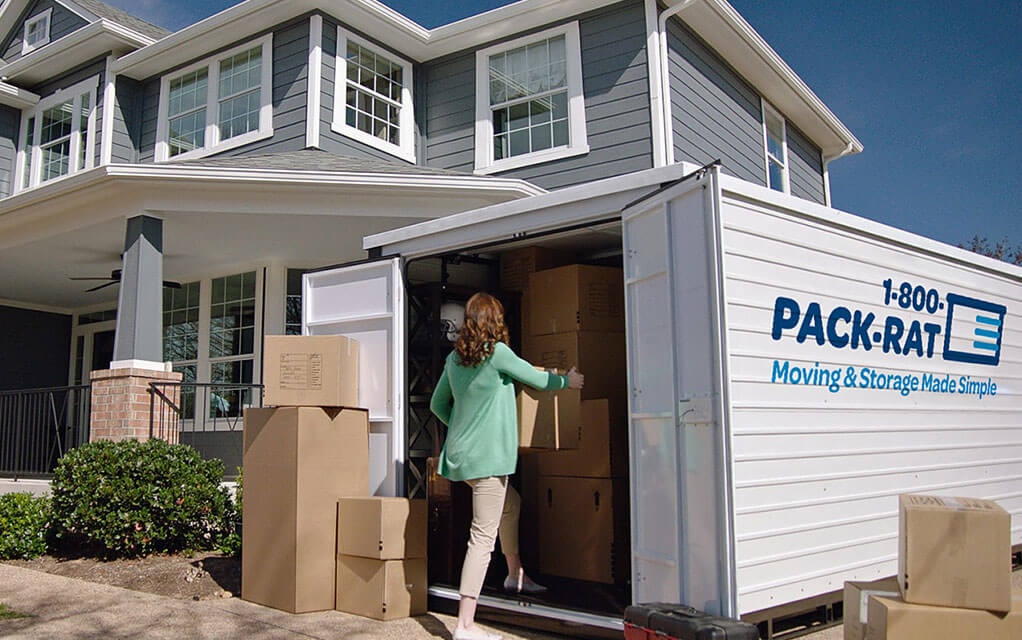
Certain items in your home or garage are hazardous during transit and should not be placed in a portable storage container or any other competing moving solution. You must set those things aside well before your move. This list includes aerosol cans, fertilizer, pesticides, charcoal, disinfectants, ammunition, fireworks, pool cleaning chemicals, paint thinner, fire extinguishers, car batteries, gas tanks, and gas cans. This also includes any substance considered illegal. Always consult the experts at 1-800-PACK-RAT if you are unsure about a particular item. As a general rule, if it is combustible or highly flammable, do not place it in your container.
Before moving your fridges or standalone freezers, remove any food from inside and discard it, or eat it. Then begin the defrosting process. You can consider giving these to neighbors or donating them to a local food bank, if the food bank accepts such items, before moving or disposing of them.
How to Pack a Refrigerator or Freezer
Moving a refrigerator requires careful planning and attention to detail, as it is both heavy and sensitive to moisture. One crucial step that many people overlook is draining all the water from the fridge before relocating it. The appliance often contains residual water in its ice maker, water line, or defrost tray, which can cause leaks or even mold growth if not properly addressed.
To start, unplug your refrigerator or freezer several days ahead of moving day. Disconnect any water lines and remove any ice from the ice maker to prevent spills. This early preparation allows sufficient time for the appliance to fully defrost and dry out. After everything has thawed, thoroughly wipe down all interior surfaces to ensure there’s no lingering moisture—leftover dampness can quickly lead to mildew or unpleasant odors during transit.
Next, measure the doorways and hallways along your planned moving route. Refrigerators are bulky and can be awkward to maneuver; knowing your measurements in advance helps prevent damage to walls or doors and ensures a smooth exit from your home. For added safety and ease when you pack appliances, enlist professional movers or at least one helper—one person can guide the fridge while another spots obstacles along the way.

An appliance dolly is highly recommended for moving refrigerators, given their weight. You can rent one from a local hardware store if you don’t already own one. Secure the fridge with straps on the dolly and keep it upright throughout the move; tilting it too much may cause compressor oil to shift out of place, potentially leading to a malfunction later on.
Lastly, once you’ve moved the appliance into its new location, let it sit upright for several hours before plugging it back in (usually four hours is advised). This waiting period allows any displaced fluids in the compressor to settle back into place, helping prevent mechanical issues when you restart your refrigerator. Taking these steps will help ensure your move goes smoothly and keeps your fridge functioning well in its new home.
If you need help moving bulky appliances, consider hiring professional labor assistance to handle all of your move's heavy lifting!
How to Pack a Washing Machine & Dryer
When preparing large appliances such as washing machines and dryers for moving or storage, proper steps are crucial to prevent damage and ensure safety. To start, make sure you leave enough time to completely drain your washing machine. This helps prevent the growth of mold and mildew during transport or storage. Run a full rinse or cleaning cycle before moving day to remove any leftover detergent, dirt, or debris inside the drum.
Once the cycle is finished, disconnect both the cold and hot water supply valves from the wall. Carefully detach the hoses, allowing any remaining water to drain out completely—using towels can help soak up excess moisture. Dry the hoses thoroughly before either placing them securely inside the washer drum or storing them in a clearly labeled bag for easy access later.
For your dryer, it’s important to remove all accumulated lint from the lint trap and internal vent system. Lint buildup is not only a fire hazard but can also decrease efficiency if left unchecked. Use a vacuum or lint brush to clean these areas thoroughly.
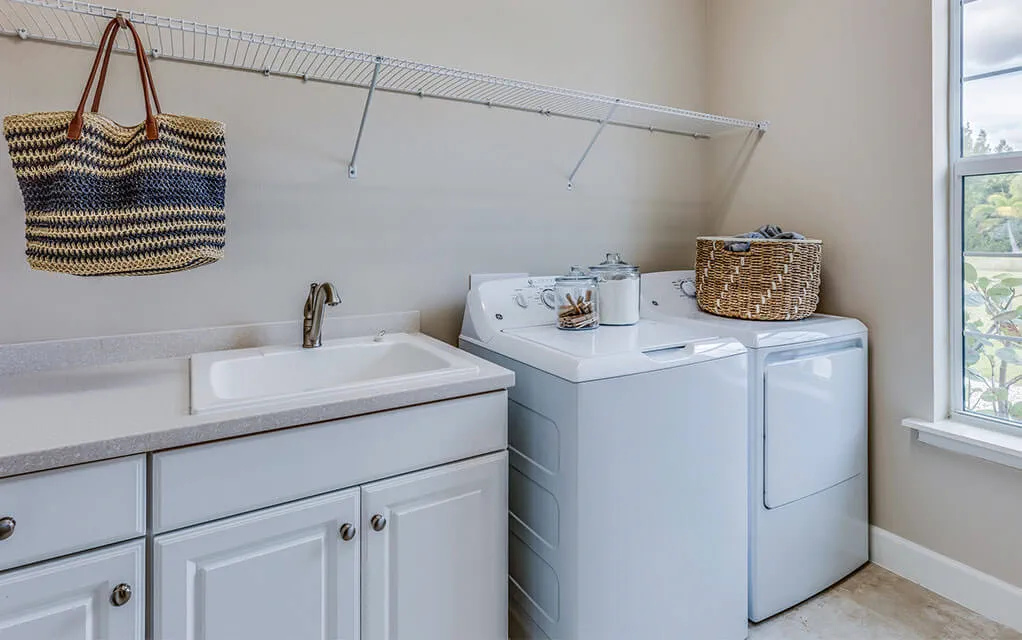
Unplug both appliances from their power sources and coil up electrical cords neatly; secure them with twist ties, rubber bands, or tape. Any removable parts—like shelves, trays, knobs, or filters—should be placed either inside the appliance itself (if space allows) or in a separate labeled bag.
Lastly, tape doors shut or secure them with appliance-friendly straps to prevent swinging open during transit. If you’re storing the appliances for a long length of time, leave doors slightly ajar to allow airflow and prevent odor buildup.
These careful preparations will help keep your appliances clean, safe, and ready for use when you arrive at your new location.
How to Pack an Oven & Range
When preparing your oven for a move, ensure safety and cleanliness throughout the process. Begin by removing any pots, pans, or oven racks stored inside—these should be wrapped and packed separately to prevent damage during transport. Running the self-clean cycle several days in advance will help eliminate built-up grease and food residue, making the oven easier to handle and minimizing potential odors after moving.
For gas ovens, contact your gas or propane provider. They can safely shut off the supply and disconnect any piping if you do not have a manual shutoff valve. This step ensures there is no risk of gas leaks during appliance movement.
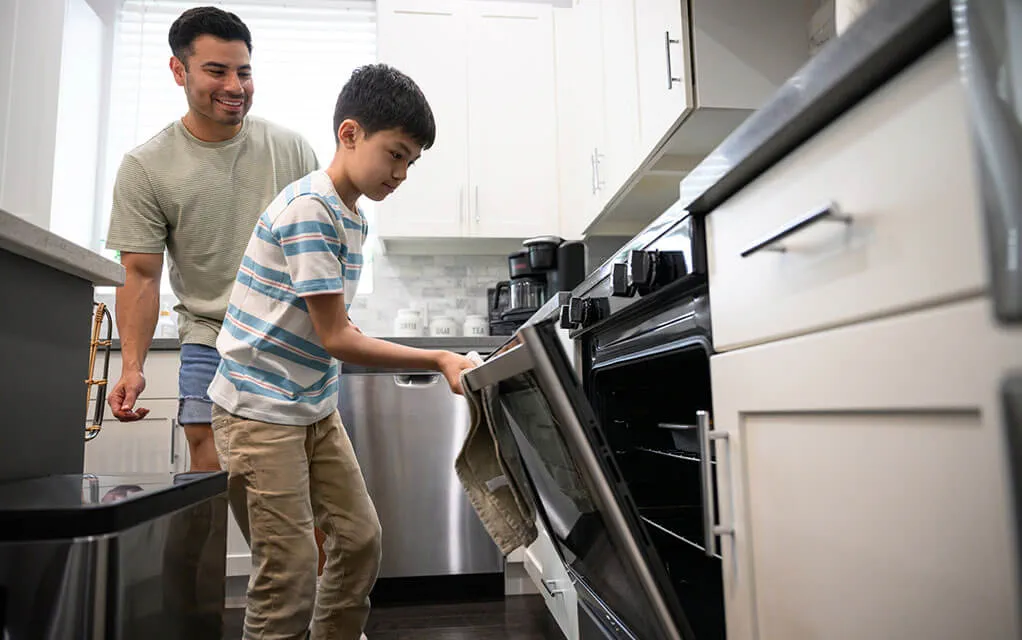
After addressing internal cleaning, focus on external maintenance. Clean areas around burners, oven doors, and control panels where grease or grime may have accumulated. This not only protects your oven but also prevents messes during transit.
It's wise to discard any perishable foods stored nearby or in the oven area to avoid spills or unpleasant odors in your moving vehicle. For electric stoves, unplug the unit from its power source and ensure the cords are neatly coiled and secured with zip ties or tape for better protection during transport.
To safeguard delicate parts, such as stove knobs, secure them with masking tape to prevent loosening or falling off during movement. If possible, wrap glass components, such as oven windows, in bubble wrap for extra protection during transport.
Lastly, consult your manufacturer's instructions for additional moving tips specific to your model. Proper preparation will help ensure your oven arrives at its new space intact and ready for use, with no safety concerns or unnecessary repairs.
How to Pack a Microwave or Toaster Oven
To prepare your microwave and toaster oven for transport, remove and securely wrap the glass turntable inside. Diligently clean and thoroughly dry your microwave oven, then pack the main unit in its original box if still available. If the original box is unavailable, locate a box slightly larger than the microwave oven and place it inside with plenty of padding to fill in any empty spaces and prevent movement during transit.
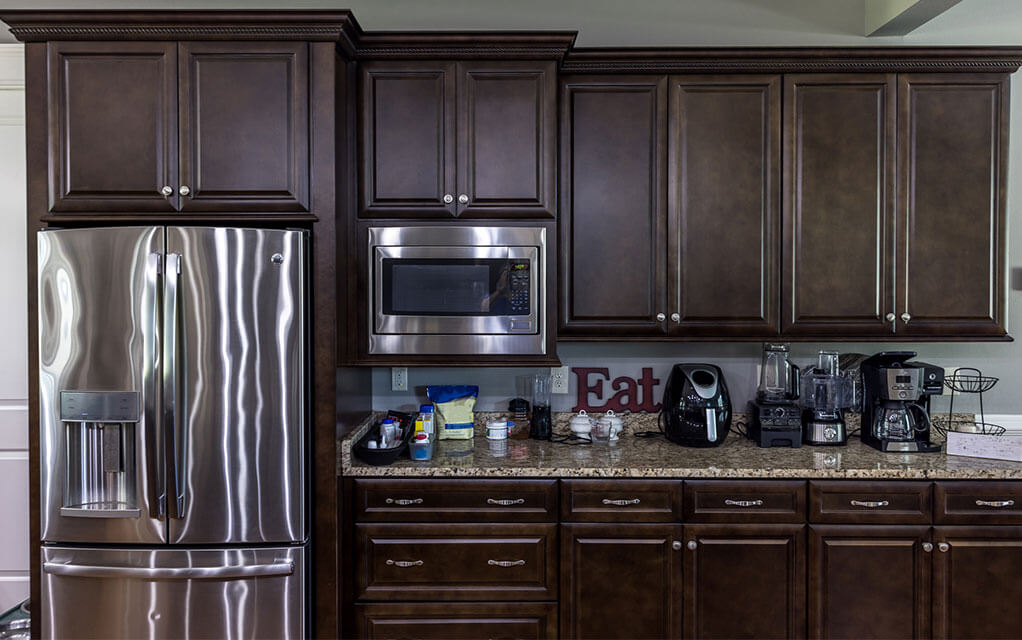
For toasters and toaster ovens, remove as much debris or crumbs as possible. For toaster ovens, run a cleaning cycle if your unit has one; otherwise, use a very light soap solution to clean the inside. This will help remove grease stains and be one less task for you at your new home.
How to Pack a Grill
Before packing your grill, dispose of unused charcoal or remove the propane tank. Note that propane tanks are typically not allowed to be stored and moved inside any moving solution due to their combustible nature. Contact 1-800-PACK-RAT or your mover to learn how to move these items correctly. Detach any removable components from the grill and pack them separately to minimize the risk of damage and shifting during transit. If you have any grill plates, flavorizer bars, or other accessories that can come loose and be jostled, consider removing them, bagging them, or boxing them separately to prevent damage.
Check out our blog on packing a grill for an upcoming move for more tips!
How to Pack Lawn Equipment
To safely pack your lawn equipment and lawn tools for relocation, secure all items and any accessories that accompany them. This includes weed eaters, tools, etc. Please note that, as with grills and propane tanks, almost every moving company strictly prohibits moving equipment containing gasoline or oil.
To learn more about what you can and cannot move in your container or how to make certain items compliant with our rules and guidelines, give us a call today, and one of our helpful moving representatives will assist you.
How to Pack Tools
To maximize the efficiency and safety of moving your loose hand tools, it’s important to choose containers that are not only sturdy but also appropriately sized for the weight and dimensions of the items you’re packing. Heavy-duty plastic bins or metal toolboxes with secure latches are especially effective at preventing spills during transit. For particularly valuable or delicate tools, wrapping each item individually in soft rags, towels, or bubble wrap helps guard against scratches, dents, and other damage.
Additionally, keep all small parts—such as screws, bits, or attachments—in labeled resealable bags or compartmentalized organizers to prevent loss. If your tools have sharp edges or blades (such as saws, chisels, or utility knives), cover them with blade guards, cardboard sheaths, or additional thick cloth before packing. This not only protects the tools themselves but also minimizes the risk of accidental injury when unpacking.
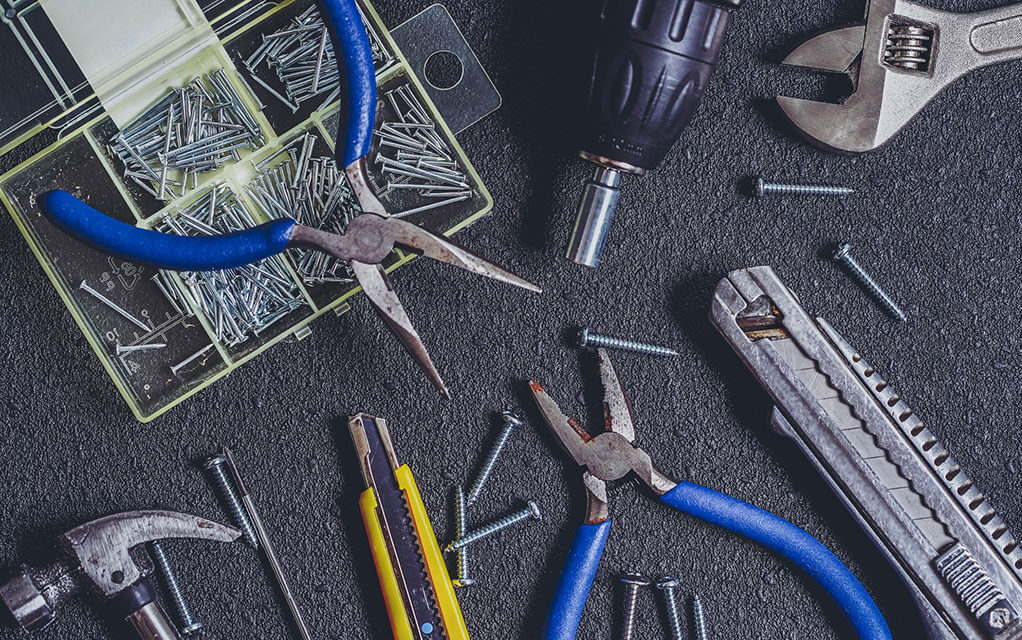
When stacking packed containers for transport, distribute the weight evenly and clearly label boxes containing heavy items to prevent strain or accidents during lifting. If possible, group similar types of tools together and create an inventory list for quick identification upon arrival at your new location.
Finally, use high-quality packing tape to seal boxes securely, and consider adding a layer of padding at the bottom of each container to absorb shock during transit. By following these steps in the packing process and using proper moving supplies such as bubble wrap, foam sheets, heavy-duty boxes, and protective gloves for handling sharp objects, you can ensure your hand tools arrive safely and organized at their destination.
What Is the Best Way to Pack Kitchen Appliances for Moving?
When preparing kitchen appliances for a move, it’s important to take extra care to ensure they arrive safely and in good working condition. Begin by unplugging each appliance well in advance to allow it to cool down completely. Clean and dry every item thoroughly—this prevents mold, odors, or moisture damage during the moving process and transit.
If you still have the original packaging for your appliances, use it; these boxes are designed for the best fit and protection. If not, choose sturdy, heavy-duty boxes slightly larger than the appliance itself. Add a layer of cushioning at the bottom of each box using packing paper, bubble wrap, or even clean kitchen towels. Wrap removable parts—such as trays or blades—individually and secure them with tape or place them in labeled bags inside the box.
Be sure to fill any empty spaces within the boxes with additional padding materials. This prevents shifting that could cause dents or damage during transport. For fragile appliances such as blenders or coffee makers with glass components, double-wrap the glass parts for added protection.
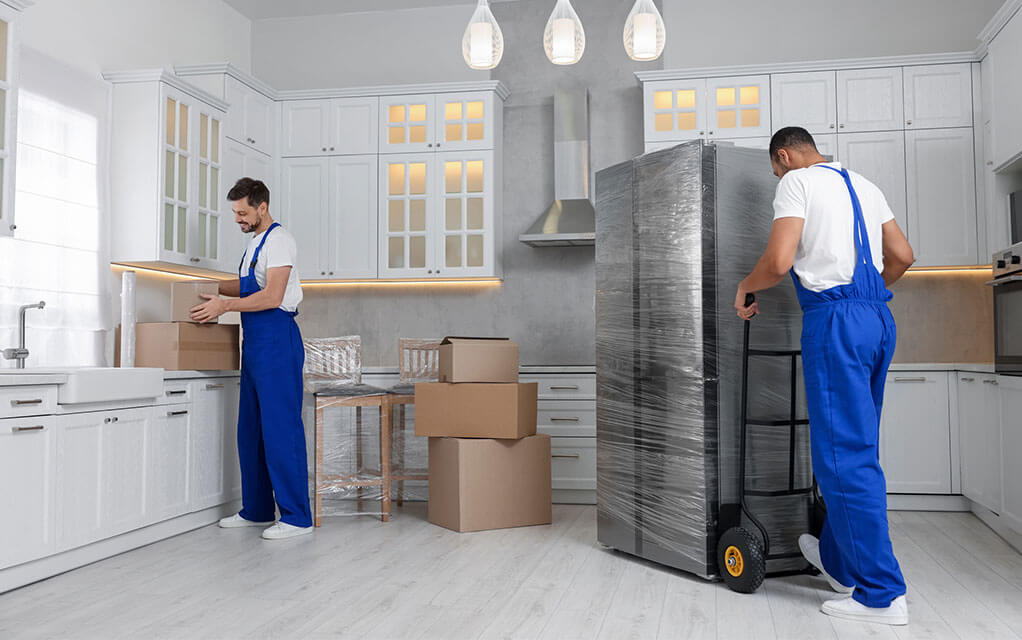
Seal each box securely with strong packing tape along all seams and edges. Clearly label every box with its contents and mark which side should be kept upright (“This Side Up”) to help movers handle them appropriately. Consider adding a “Fragile” sticker if the appliance is especially delicate.
When loading your moving truck, place heavier kitchen appliances on the bottom with lighter items on top to prevent crushing. If possible, keep small appliances together so they’re easy to locate and unpack upon arrival at your new home.
By following these careful packing steps, you can minimize the risk of damage and make setting up your new kitchen much easier after your move.
Pack Your Portable Moving and Storage Container Wisely
When loading your portable moving and storage container, pack heavier items, such as appliances, accessories, and furniture, at the bottom of the box and your moving boxes. For your heavy items, distribute the weight evenly across the container floor—do not overload one side. It is important to pack these items in an upright position to prevent damage. This can cause the container to sway during transport, damaging our vehicle, the container, and your belongings.
Think vertically, as that is typically an underutilized space in a storage container. Pack your items from floor to ceiling, creating wall-like layers. Fill any open spaces with boxes and other small items like pillows or blankets to provide stability. Odd-shaped items can go on top of boxes or near the doors. Furniture pads, blankets, and pillows are effective for cushioning fragile items. Taking the extra time to pack your storage container carefully will make unpacking easier and keep your belongings secure during transport and storage. Get more information on packing your container like a professional here.
Check out our guide for packing your container like a pro today for more helpful tips!
Are There Specific Packing Materials Recommended for Fragile Kitchen Appliances?
When preparing fragile kitchen appliances for a move, it’s crucial to take extra care in how you pack them to prevent any damage. Start by unplugging and thoroughly cleaning each appliance, ensuring all detachable parts—such as trays, blades, or mixing attachments—are removed and individually wrapped in bubble wrap or packing paper.
Choose sturdy, double-walled boxes that are just slightly larger than the appliance itself to minimize shifting inside the box. Fill the bottom of each box with a generous layer of foam peanuts or air pillows to act as shock absorbers. After wrapping each appliance securely in several layers of bubble wrap, place it gently into the box. Fill any empty spaces around the appliance with additional packing material so there’s no room for movement.
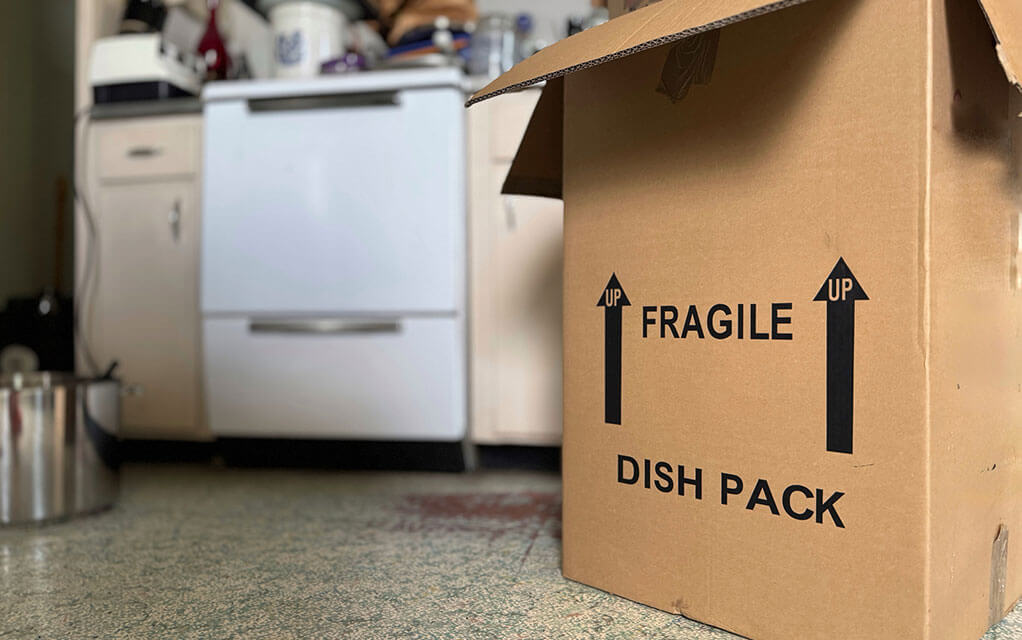
For added protection, consider using dish packs or specialty boxes designed for fragile items. Clearly label each box as “Fragile” and indicate which side should face up. This not only helps movers handle your items with greater care but also makes unpacking and organizing your new kitchen much easier.
Lastly, if possible, transport especially delicate or valuable appliances yourself rather than placing them on the moving truck. Taking these precautions will ensure your kitchen gadgets arrive safely at your new home and remain in good working condition.
Use 1-800-PACK-RAT Portable Storage Containers for Your Upcoming Move
We know it can be hard to determine how many containers you might need. No home or move is the same, and everyone has different needs. We offer a space calculator to help you estimate how many portable storage containers you may need to move or store your belongings, and a downloadable weight estimator sheet for additional assistance. If you still have questions, give us a call and let us know what you need. We aim to make the process as simple as possible!
1-800-PACK-RAT's portable moving and storage containers offer extensive flexibility and predictable pricing for all your local and long-distance moving and short- and long-term storage needs. After one of our professional drivers drops off a container at your door, you can pack your belongings at your own pace for as long as you need. With 85+ secure nationwide locations and counting across the continental United States, you can count on us to deliver your items or store them for as long as you need. When ready, we will redeliver your storage container or move it to your next destination.
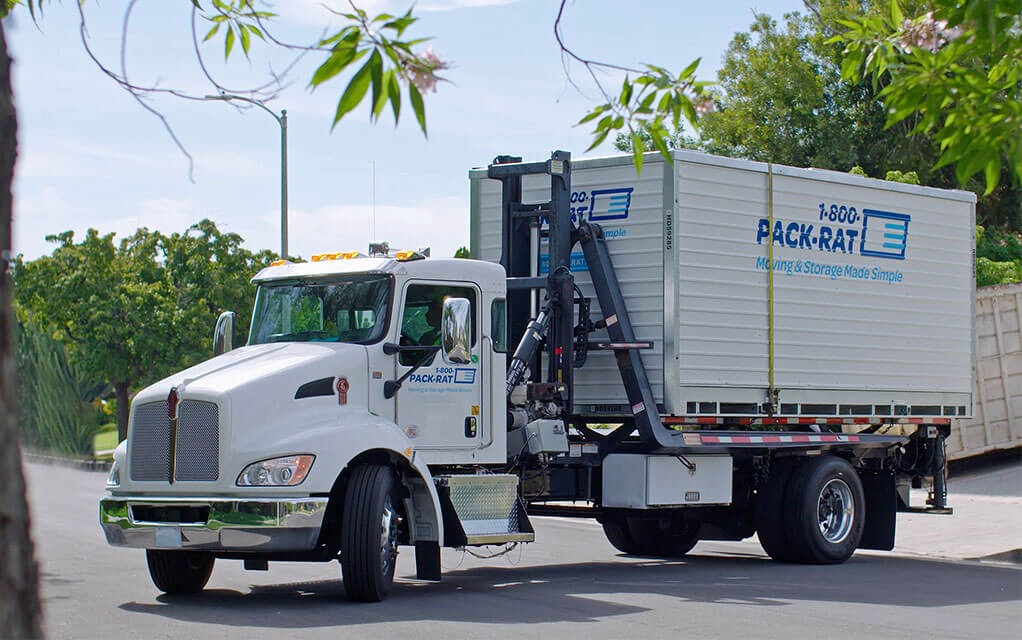
Here's how 1-800-PACK-RAT works: you select your preferred moving date, and we will deliver a container to you. You can pack it at your own pace for as long as you need. When you are done, we will pick up your container and either deliver it to your new home or place it in storage at our local facility until you need it. It is that simple - no driving or stress is necessary. If you need professional labor, moving supplies, junk removal, or auto transportation services, we have trusted third-party partners who can help!
1-800-PACK-RAT makes moving and storage simple – give us a call or get a free quote today to see how we can help you!
Frequently Asked Questions About Moving Kitchen Appliances and Equipment
Are there any special tips for packing appliances such as blenders and coffee makers?
If you don’t have the original packaging, use sturdy, appropriately sized cardboard boxes for your kitchen appliances—avoid oversized boxes to prevent shifting. Wrap each appliance in bubble wrap or thick packing paper, focusing on fragile parts such as glass lids and knobs, and secure with tape. Remove detachable parts such as blades or beaters and pack them separately in labeled bags.
Line the bottom of each box with crumpled paper or foam peanuts for cushioning. Place the appliance inside and fill empty spaces with padding to prevent movement. If packing multiple small appliances together, use dividers or extra padding.
Clearly label each box with its contents and mark it as “Fragile.” Keep instruction manuals and accessories in a separate bag within the same box for easy access. Seal boxes securely and avoid stacking heavy items on top. These steps will help protect your appliances and make unpacking easier.
Is it safe to pack kitchen appliances with other kitchen items like pots and pans?
While it may be tempting to combine kitchen appliances with pots and pans to save space, it's generally not recommended. The weight and structure of cookware can potentially damage delicate appliances during transit. , including those essential items in your essentials box. If you must pack them together, ensure that each appliance is securely wrapped and separated by sturdy padding. Use dividers or layers of bubble wrap to create a buffer between the items, reducing the risk of scratches or dents.
Additionally, prioritize packing heavier items at the bottom of your boxes and lighter, more fragile items on top, and clearly mark the box as "fragile."
What is the best way to move large appliances?
Moving large appliances requires special attention to ensure safety and prevent damage. First, disconnect the appliance from any power source or plumbing, and allow it to defrost if it's a refrigerator or freezer, or drain if it is a washing machine. Secure any loose parts with tape, and wrap the appliance in moving blankets or heavy-duty bubble wrap for added protection.
Use a dolly or hand truck to move the appliances; this will help distribute their weight and minimize strain. When loading onto a moving truck, place the appliance upright and do not lay it down unless specified by the manufacturer. Always have at least one other person help you move oversized appliances, especially refrigerators. Have a third person spot you as you move the fridge to avoid hitting doorways and keep your path clear of hazards.
When should I start packing my kitchen appliances?
Start packing your kitchen appliances about two to three weeks before your moving date. This timeline allows you to organize efficiently without feeling rushed. Begin with the items you use least frequently, such as specialty appliances like bread makers or slow cookers. Gradually work your way to daily-use items, ensuring you have adequate space and time to wrap and secure each piece properly.
As you pack, take inventory of each appliance, noting any accessories or detachable parts. This list will aid in unpacking later and ensure nothing is left behind.
Can a portable storage container carry my kitchen appliances?
Yes - 1-800-PACK-RAT's portable storage containers are the perfect solution to moving all of your household items, including your kitchen appliances! Whether it is an air fryer, toaster oven, or even your fridge or bulk freezer, our containers can handle it. Be sure to prep appliances such as freezers and fridges at least 2 days ahead of your move date. You must ensure that your appliances have thawed and drained all water from the unit to prevent water leakage inside the container. Trapped moisture in the container from improperly stored wet or damp items can lead to mold and mildew growth.
Another thing to keep in mind is staying within the container's weight limit. Our 16ft and 12ft containers each hold up to 6,000 lbs of contents, while our 8ft container holds up to 4,000 lbs. Do not overload your container; our transport vehicle cannot pick it up until it is within acceptable limits. Use our handy space calculator tool and weight estimator sheet to help plan for packing large kitchen appliances and other household goods!
What is the best way to pack tools to avoid damaging them?
Packing tools require a careful approach to maintain their integrity and functionality. Start by gathering all your tools and categorizing them—group similar items together, such as hand tools, power tools, and gardening equipment.
For hand tools like hammers and wrenches, use cushioned wrap or old towels to prevent scratches and dents. Place them in a sturdy box, ensuring they are secure but not overcrowded. Power tools should be cleaned of dust and debris before packing. Remove any detachable parts, such as batteries or cords, and wrap them separately to avoid tangling.
How many boxes do I need to pack a kitchen?
The number of boxes needed to pack a kitchen typically ranges from 5 to 10, depending on the size and quantity of your appliances and equipment. Consider using medium-sized boxes for heavier items and smaller boxes for fragile items like dishes, ensuring everything is securely packed for transport.
- Moving Tips (133)
- Home Organization (27)
- News Releases (23)
- Packing Tips (21)
- Fun Stuff (19)
- Portable Storage (16)
- In the Community (11)
- Moving and Storage Tips (11)
- Storage Tips (10)
- Moving Checklists (9)
- Household Moving (7)
- Moving Company Comparisons (5)
- Moving on a Budget (5)
- DITY Move (4)
- Home Maintenance Tips (3)
- Home Buying and Selling Tips (1)
- Interstate Moving (1)


