

The Ultimate Guide to Cleaning Kitchen Appliances Easily
July 10, 2026
Key Highlights of Appliance Cleaning
- Use a microfiber cloth, warm water, and dish soap to gently clean stainless steel.
- Wipe in the direction of the grain to cut streaks, fingerprints, and stains.
- For grease and tough stains, use simple household items like white vinegar, baking soda, or lemon.
- Clean appliance interiors on a schedule so residue and odors do not build up.
- Unplug small electrical appliances before cleaning and keep moisture away from key parts.
- Before moving, fully clean appliances, dry them thoroughly, and buff surfaces for a brilliant shine.
Keeping your kitchen appliances clean does more than make your kitchen look nice. Regular cleaning improves performance, enhances durability, and reduces stains, grime, and odors. It can also help you spot small issues before they turn into bigger repair problems. From stainless steel doors to microwave interiors and oven racks, each surface needs the right care. This guide gives you simple ways to clean major and small appliances without making the job feel hard.
How to Clean Stainless Steel Kitchen Appliances Without Streaks
Stainless steel looks sharp, but it shows fingerprints, smudges, grease, water spots, and stains fast. The best way to clean stainless steel is simple: use warm water, mild dish soap, and a microfiber cloth or soft cloth.
Always wipe in the direction of the grain, then dry right away to stop watermarks and residue. Skip steel wool and other rough tools. For extra stainless steel shine, lightly buff with mineral oil, then polish the surface for a streak-free, brilliant finish.
Must-Have Cleaning Supplies for Every Kitchen
You do not need an extensive or expensive cleaning kit to keep your kitchen spotless. In fact, just a few basic supplies can help you tackle everyday messes efficiently and safely, while minimizing the risk of damaging surfaces. The main objective is to remove grime, grease, and food residue without scratching or dulling delicate finishes like stainless steel, glass, or polished stone.
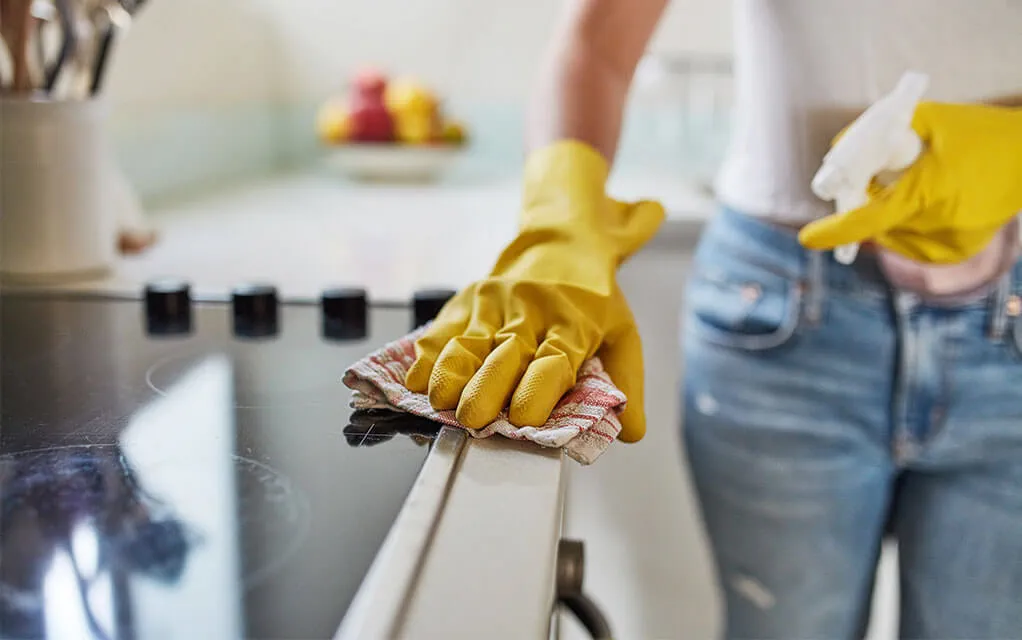
Here are some essential items you should always have at hand:
- Microfiber Cloths: These are highly effective for wiping down surfaces because they trap dust and dirt without leaving behind lint or scratches. They’re ideal for countertops, appliance exteriors, and even glass.
- Soft Cotton Cloth: Great for drying dishes or buffing surfaces to a shine after cleaning.
- Spray Bottle: Fill this with plain water for everyday cleaning or a mild homemade solution (such as diluted dish soap) when you need extra power against sticky spots.
- Gentle Dish Soap: Combined with warm water and a sponge, dish soap is perfect for cutting through grease on most kitchen surfaces.
- Sponge (Non-abrasive): Use the soft side for general cleaning. Reserve abrasive sponges only for tough jobs—and never use them on sensitive finishes.
- White Vinegar: This works well as a natural deodorizer and helps break down mineral buildup inside appliances like microwaves, coffee makers, and dishwashers. However, always test on an inconspicuous area first and wipe away thoroughly—especially on stainless steel—since vinegar can erode certain coatings if left too long.
When using these supplies:
- Always rinse surfaces with clean water after using any cleaners to prevent residue build-up.
- Dry with your soft cloth to avoid water spots or streaks.
- For stubborn messes like baked-on food or sticky spills, let a damp cloth sit over the spot for several minutes before wiping clean; this loosens debris so you don’t have to scrub hard.
What to Avoid:
Stay away from harsh abrasives like steel wool or scouring pads. While they might seem effective at first, they can leave permanent scratches that dull shiny finishes and make future stains harder to remove.
By sticking to these simple tools and techniques, you’ll keep your kitchen looking fresh without risking damage—and spend less time cleaning up after every meal.
Safe Cleaning Products for Different Appliance Surfaces
Different finishes need different care. A mild cleaner is often the safest first choice. Warm water, dish soap, and a soft cloth work well on many appliance exteriors. For tougher messes, use a product made for that surface.
Here is a simple guide:
Stainless steel
Use a mild cleaner or stainless steel cleaner, avoiding harsh chemicals such as ammonia and bleach. Never use steel wool, as this will scratch and damage the surface.
Fingerprint-resistant stainless steel
Use a combo of warm water, mild soap, and a microfiber cloth to gently clean the surface. Do not use stainless steel cleaner, glass cleaner, or polish as this can distort the surface.

Glass areas
Use a glass cleaner or a specialized cleaner that is approved for that surface (some glass cooktops require a specific cleaner). Avoid using harsh abrasives such as scratchy sponges or tools.
Plastic or trim
Use an all-purpose cleaner or a natural combo of baking soda and water to gently clean. Avoid using harsher chemicals such as bleach or ammonia.
When in doubt, check the owner’s manual first. That matters most for delicate surfaces and coated finishes. Using the wrong cleaner can dull the surface or cause discoloration.
Recommended Methods for a Streak-Free Shine
If you want to clean stainless steel appliances without streaks, focus on your method as much as your cleaner. Too much product, cross-grain wiping, or poor drying often causes water marks and haze.
Try this routine:
- Wipe with a damp microfiber cloth using warm water or light soapy water
- Follow the direction of the grain on every pass
- Dry and buff with a second clean cloth right away
For extra shine, add a few drops of mineral oil to a dry microfiber cloth and lightly buff the surface. Use only a little. Too much can leave a film. Never use steel wool, because even one scrub can scratch and ruin the finish.
Best Practices for Removing Smudges and Fingerprints
Handles and doors pick up fingerprints and smudges every day. The easiest fix is quick, regular care. If you wait too long, oils and kitchen residue can make stains harder to remove.
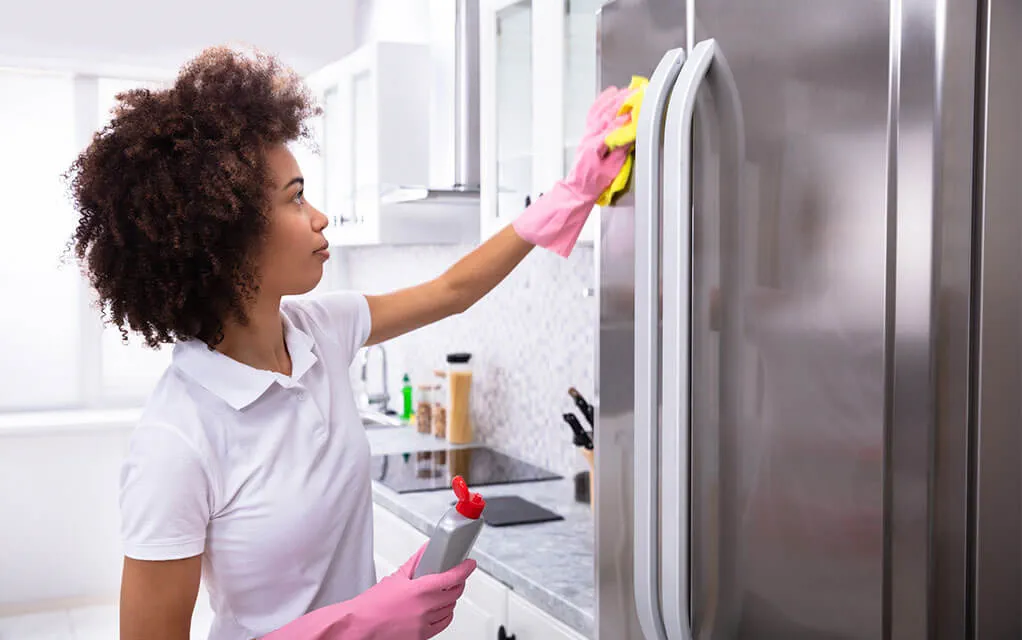
A simple approach works best:
- Use warm water with a drop of dish soap on a soft cloth
- Wipe gently, then rinse the cloth and wipe again
- Finish with a dry microfiber cloth to keep the look streak-free
Do not reach for glass cleaner unless the manufacturer allows it for that surface. On some finishes, it can cause problems. A final buff helps remove light watermarks and restores a clean, even look without heavy scrubbing.
How to Clean a Microwave Using Household Items
A microwave collects splatters, stains, grime, and food odors fast. The good news is that basic household items can handle most of it. You do not need a strong product for normal messes.
Use warm water, dish soap, or a simple cleaning solution with white vinegar. These options help loosen dried food and freshen the inside. Once the mess softens, wiping becomes much easier. Next, use a step-by-step routine that covers both the interior and exterior.
Step-by-Step Routine for Interior and Exterior Cleaning
Start by making the mess easier to remove. A basic routine saves time and keeps the microwave in good shape. Use soft tools so you do not scratch the inside or leave extra residue behind.
Follow these steps:
- Wipe the interior with a sponge dipped in warm water and dish soap
- Focus on stains and residue on the walls, door, and turntable area
- Use a damp cloth to remove soap, then dry with a clean cloth
Move to the outside next. Clean the handle, buttons, and door edges because they collect oils from hands. Finish with a light buff on the exterior so the surface looks neat. This same pattern works well for many major appliances too: loosen, wipe, rinse, dry.
Quick Hacks for Odor Removal and Tough Stains
Sometimes, your microwave requires more than just a surface clean. After frequent use, tough stains, stubborn grease, and persistent odors can linger inside, making regular cleaning methods less effective. Fortunately, a few household staples can make deep cleaning much easier.
White vinegar is especially effective for both deodorizing and loosening cooked-on grime. Simply place a microwave-safe bowl filled with equal parts water and white vinegar in the microwave and heat until it steams—usually about 5 minutes. The steam helps break down buildup on the interior surfaces, making it easier to wipe away residue.
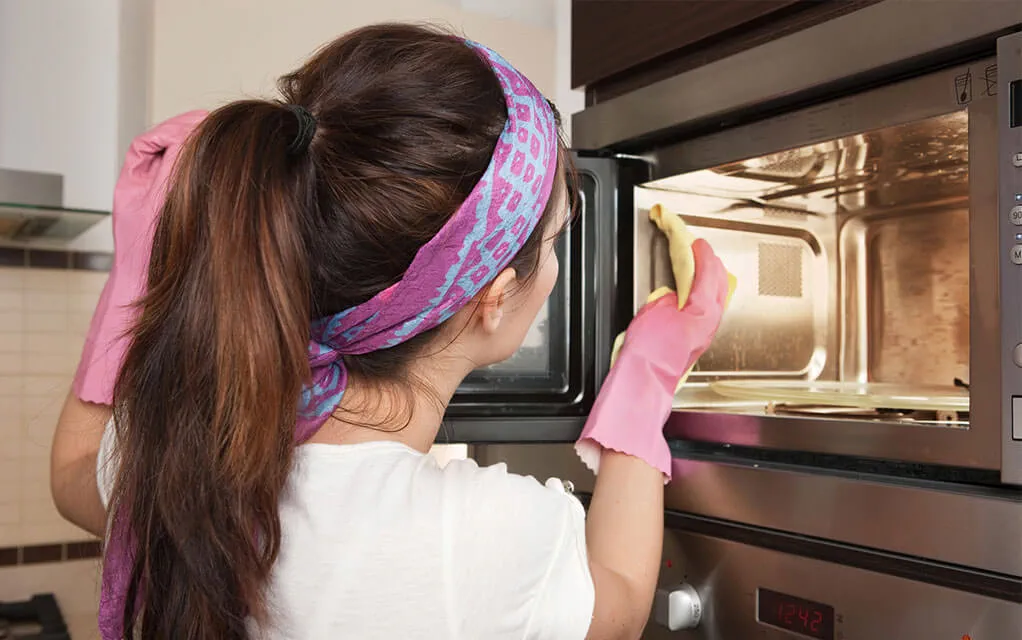
For areas with tougher stains or dried-on food splatters, baking soda works wonders. Mix baking soda with a small amount of water to create a gentle paste. Apply it to stained spots using a soft cloth or sponge, let it sit for several minutes to lift the grime, then wipe clean.
If you’re dealing with lingering smells like burnt popcorn or strong foods, lemons provide a natural solution. Cut a lemon in half, squeeze its juice into a bowl of water (adding the rinds as well), then microwave for 3 to 5 minutes. The steam will not only help loosen debris but also infuse the interior with a fresh citrus scent.
Always follow up any cleaning method by wiping down all surfaces with soapy water or a damp cloth to remove any remaining cleaning agents. Finally, dry the inside thoroughly—this last step is important because moisture left behind can attract new grease or dirt and create an environment where unpleasant odors return.
By incorporating these simple hacks into your routine, you’ll keep your microwave cleaner and fresher for longer while avoiding harsh chemicals. Regular deep cleans also help maintain appliance performance and extend its lifespan.
How to Clean an Oven Thoroughly
An oven deals with heat, spills, grease, and food splatter every time you cook. Over time, greasy buildup, burnt-on residue, grime, and stains can get hard to ignore. That is why regular wipe-downs matter.
For a deeper clean, remove racks, soak them in soapy water, and use a safe cleaning solution on the oven interior. Baking soda and water can help with stuck-on messes. If your oven has a self-clean setting, always follow the manufacturer’s instructions first.
Removing Greasy Buildup and Burnt-On Residue
Heavy oven messes need patience, not rough force. Start with the easy parts first. Take out the racks and let them soak in warm water and dish soap. This helps loosen grease before you scrub.
Use this simple plan:
- Apply a baking soda and water cleaning solution to the oven interior
- Let it sit on greasy buildup and burnt-on residue
- Wipe with a sponge and rinse with soapy water
If you need more help, a purpose cleaner made for ovens may work, but use only what the manufacturer allows. Avoid harsh abrasives. Regular spot-cleaning after cooking makes deep cleaning much easier and keeps thick layers of grease from forming.
Tips for Maintaining Oven Freshness Between Deep Cleans
A smart cleaning routine is essential for keeping your oven in top condition and preventing tough, baked-on messes. By adopting simple habits, you can dramatically reduce the time and effort required for deep-cleaning sessions. Here are some practices to incorporate into your regular kitchen routine:
Wipe up spills as soon as the oven has cooled down enough to safely touch the interior surfaces. Fresh spills are much easier to clean than stains that have been repeatedly heated and baked onto the oven walls or floor.
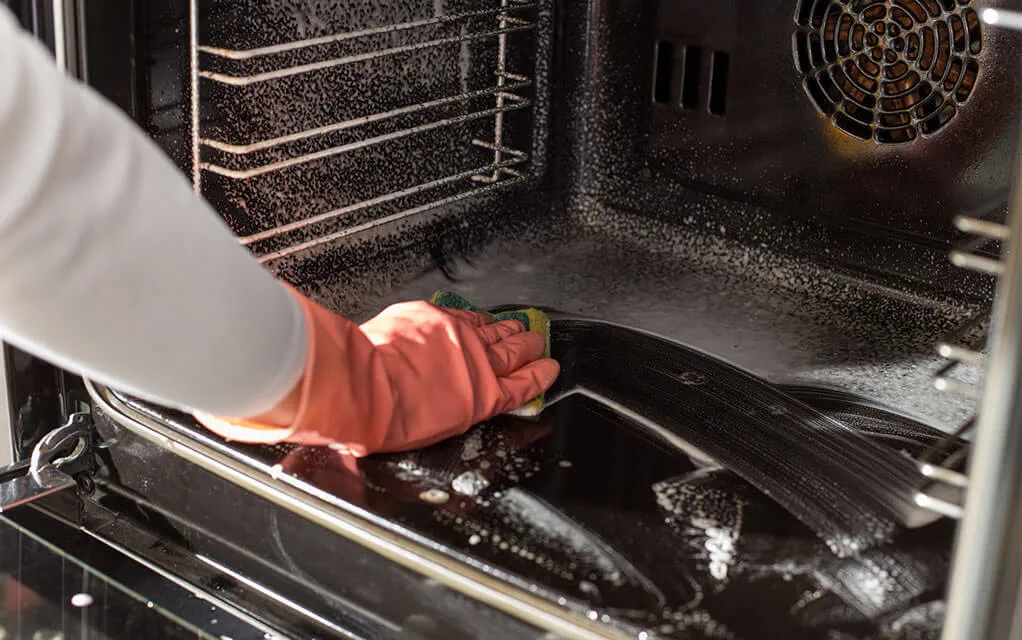
Don’t forget about the oven racks and any removable parts, such as trays or drip pans. Cleaning these components before grime becomes thick or sticky will help maintain their appearance and functionality. For best results, soak them in warm soapy water, scrub if necessary, rinse well, and ensure they’re completely dry before reinstalling them.
Always refer to your oven’s manual before using any self-cleaning feature. Some ovens have specific requirements or warnings about what can be left inside during a self-clean cycle. Using this feature incorrectly can damage parts of your appliance or create unpleasant odors.
If you wash removable pieces by hand or in the dishwasher, make sure all moisture is gone before returning them to the oven. This helps prevent rust and keeps your oven working efficiently.
In addition to cleaning the interior, regularly wipe down the exterior—especially around handles, buttons, and knobs—to keep it looking fresh and free from fingerprints or grease splatters. By making these quick cleaning habits part of your kitchen routine, you’ll enjoy an oven that’s not only more hygienic but also performs better and lasts longer.
Simple Steps for Cleaning Small Kitchen Appliances
Small appliances need care too. A toaster, blender, and coffee maker can collect stains, grime, crumbs, and residue even if they look fine from the outside. A simple cleaning routine helps them work better and stay fresher.
The main rule is easy: unplug first and keep water away from electrical parts. Then clean removable pieces with warm, soapy water when allowed. Each appliance has its own needs, so use gentle methods and check the manual if you are unsure.
Toaster, Blender, and Coffee Maker Cleaning Tips
Small kitchen appliances are essential tools in everyday cooking, but they tend to trap various messes during regular use. For instance, a toaster collects crumbs at the bottom, a blender can become coated with sticky splashes from smoothies or soups, and a coffee maker may develop stains from oils and minerals left behind by water and coffee grounds. Taking the time to clean these appliances gently helps keep them functioning efficiently and extends their lifespan.
Here are more detailed cleaning tips for each:
Toaster:
Unplug the toaster before cleaning. Remove the crumb tray if your toaster has one, and shake out all the crumbs over your sink or trash can. Wipe down the exterior with a damp cloth to remove fingerprints or smudges. If you notice any stubborn buildup inside, use a soft brush (like an old toothbrush) to reach into crevices—just be sure not to damage the heating elements.
Blender:
After each use, rinse the blender jar immediately to prevent food from drying on. For thorough cleaning, fill the jar halfway with warm water and add a drop of dish detergent. Run the blender for a few seconds—this helps dislodge stuck-on residue—and then rinse well with clean water. Pay attention to the lid and gasket; take them apart if possible and wash separately to avoid lingering odors or mold growth.

Coffee Maker:
Disassemble removable parts such as the pot (carafe), lid, and filter basket. Wash these components with warm soapy water after each use. To prevent mineral deposits from building up inside your machine, run a cycle using equal parts white vinegar and water every month or so (check your manufacturer’s instructions first). Afterward, run two cycles with just water to clear out any vinegar taste.
By routinely maintaining your small appliances using these steps, you’ll ensure they stay clean, safe, and ready for daily use. Plus, well-kept machines produce better-tasting food and drinks!
Wipe bases with a sponge or clean cloth, not a soaking-wet rag. On some blender bases, glass cleaner can work on metal trim, while baking soda and water can help on plastic parts. Always read the manufacturer’s directions before washing blades or jars in a dishwasher.
Safety Precautions for Electrical Appliance Cleaning
Safety comes first with electrical appliances. Water and power do not mix, so take a minute to prep before you start. This protects both you and the machine.
Keep these rules in mind:
- Unplug the appliance before cleaning
- Use a clean cloth or sponge that is damp, not dripping
- Keep moisture away from switches, cords, and openings
Do not immerse the appliance base in water unless the manual clearly says it is safe. Skip harsh chemicals too. They can damage surfaces or leave residue where food is prepared. Let every part dry fully before plugging the item back in or packing it away.
Effective Ways to Remove Grease and Buildup from Appliances
Grease, grime, and residue build slowly, then suddenly seem to be everywhere. You may notice it on range fronts, microwave doors, dishwasher edges, and small appliance surfaces. The key is using the right cleaning solution for the material.
For light messes, warm soapy water often works. For tougher stains, white vinegar, baking soda paste, or a store-bought cleaner may help. Clean hidden areas too, because buildup often forms around seals, handles, corners, and removable parts.
Natural Degreasers and Store-Bought Options
When it comes to removing grease in your kitchen, you have a variety of options, ranging from homemade solutions to specialized store-bought cleaners. Natural choices are often favored for cleaning food-preparation areas because they are non-toxic and generally safer around children and pets.
One of the most popular natural degreasers is white vinegar. Its acidity helps break down grease and residue while also neutralizing odors. You can use it diluted with water in a spray bottle for wiping down countertops or stovetops. Another effective option is baking soda, which acts as a mild abrasive. When mixed into a paste with water, baking soda can tackle stubborn, stuck-on grease without scratching most surfaces.
If you have surfaces that require extra care—such as stainless steel appliances—it’s important to check the manufacturer’s recommendations before applying any cleaner. Some stainless steel finishes can be damaged by acidic substances like vinegar or lemon juice, so always test cleaners on a small area first or opt for products specifically designed for those materials.
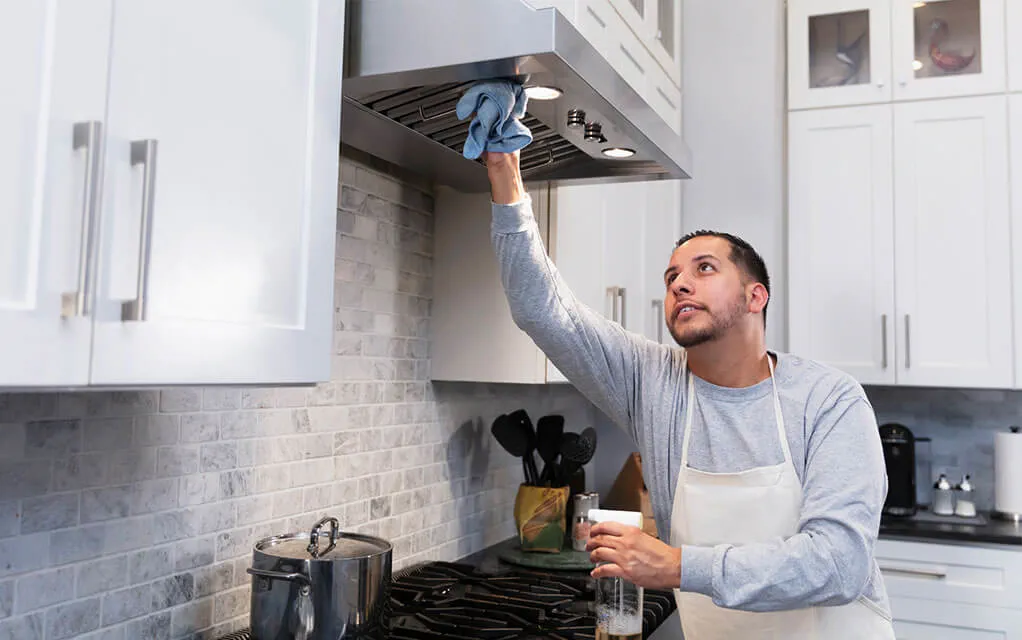
For tougher jobs or when convenience is key, store-bought degreasing sprays are available. These often contain surfactants and solvents that dissolve grease quickly but should be chosen carefully to avoid harsh chemicals that could damage your appliances' finish or leave unsafe residues near food prep areas.
Regardless of your choice, always follow up by wiping surfaces with clean water and drying them thoroughly to prevent streaks or residue buildup. Regular maintenance using gentle cleaners will keep your kitchen sparkling and extend the life of your appliances.
Cleaning Hard-to-Reach Spots and Appliance Parts
The dirtiest spots are often the ones you do not see right away. Door seals, edges, spray arms, handles, and areas behind appliances collect stains, residue, and grime over time. These spaces matter for both cleanliness and performance.
To really clean those tough spots, try the following method:
- Use a spray bottle with a mild cleaner to reach tight spots
- Wipe with a sponge or clean cloth
- Dry and buff surfaces so moisture does not sit in corners
For dishwashers, inspect filters and spray arms often and clean as necessary (you can even purchase cleaning solutions specific for the dishwasher and run a cleaning cycle for it). For refrigerators, clean door seals and spill-prone shelves to keep it as clean as possible. It also helps to clean behind and beneath major appliances several times a year, as dust and debris in those areas can affect airflow and overall performance.
How Often Should You Clean Major Kitchen Appliances?
A steady cleaning schedule makes appliance maintenance easier. It also keeps stains, residue, and odors from turning into bigger problems. You do not need to deep clean everything every week.
A practical cleaning routine works best. Wipe cooktops and exteriors daily, check high-touch areas weekly, clean dishwasher filters and microwave interiors monthly, and deep clean refrigerators and ovens every few months. Do not forget the spaces behind and beneath large appliances several times a year.
Suggested Cleaning Schedules for Each Appliance
The best cleaning schedule depends on how much you cook, how many people live in your home, and how often each machine is used. Still, a basic plan gives you a strong start.
Use this guide:
Daily Cleans
- Cooktops and exteriors
- High-touch surfaces
This is mainly to wipe off fingerprints, light grime, and keep your daily-use spaces looking cleaner.
Weekly Cleans
- Microwave
- Dishwasher filter and interior
Cleaning splatter and grime out of the microwave weekly can help keep the nasty stuff from building up and causing more of a problem to clean later. If you use your dishwasher frequently, be sure to clean the filter weekly to keep it from getting clogged. You can run a cleaning cycle on a more monthly basis.
Monthly
- Refrigerator
- Oven
Given the extent of the cleaning job for these appliances, a more monthly cadence is suggested. Cleaning the interior of the fridge and removing old food can keep it looking nice and tidy. Your oven should also be prioritized, especially if you do not have an easy-to-clean splatter guard. The more grime and food splatter build up in your oven, the harder it is to clean, and it can even degrade your oven's heating and temperature retention over time.
Throughout the Year
- Behind and under appliances
Nobody wants to pull the oven or fridge out of place all the time, but it is a good idea to clean under and around your larger appliances several times a year. Clean the dust off vents to keep your appliances working smoothly for as long as possible.

Simple habits reduce buildup and help appliances run as intended. That can support performance and may help lower wear over time.
Signs It’s Time for a Deep Clean
Your appliances usually show clear signs when they need more attention. Waiting too long can lead to odors, poor performance, or harder cleanup later. A fast check can tell you a lot.
Watch for these signs:
- Visible stains, grime, or sticky residue
- Unusual odors inside or around the appliance
- Water marks, cloudy surfaces, or slower performance
You may also notice longer cycle times, blocked spray arms, or a refrigerator that struggles to hold temperature. When you see these clues, deep clean the appliance and inspect key parts. If cleaning does not help, it may be time to ask a professional. A final exterior buff can improve the look, but the inside matters most.
Getting Appliances Move-Out Ready: Cleaning Tips Before You Move
As move-out day approaches, clean appliances before you pack or hand over the space. This helps remove stains, residue, crumbs, and odors that are easy to miss during normal upkeep. It also makes appliances safer to transport.
Start early so everything has time to dry. Wipe interiors, remove loose debris, and polish or buff exterior surfaces. If you are using portable storage containers from 1-800-PACK-RAT, clean and dry each appliance fully before placing it inside for the move.
Preparing Large Appliances for Safe Transport
Large appliances need more than a fast wipe before a move. You want them clean, dry, and ready for safe transport. Leftover moisture or food residue can lead to odors during storage or transit.
Before moving, do this:
- Remove all food, crumbs, stains, and residue
- Wipe interior and exterior surfaces, then let them dry fully
- Lightly polish and buff finished exteriors if appropriate
Pay close attention to refrigerator shelves, dishwasher interiors, oven racks, and door seals. Also clean behind and beneath the appliance before disconnecting it. Drying matters just as much as cleaning. Too much moisture inside a closed appliance can create musty smells before you unpack it at your new place.
When you get a portable storage container from 1-800-PACK-RAT, we can make the moving process much simpler by bringing an all-steel container directly to you, which you can pack at your own pace. That means you don't have to rush to get a large appliance such as an oven or fridge, if you are moving one, packed and loaded up all in one day. It takes the stress out of the equation that more traditional methods, such as moving trucks, force you to do if you want to avoid overage charges. Plus, our ground-level loading method means no unsteady ramp to the back of a big truck is needed to carry and lift hundreds of pounds into your moving solution.

We make moving simple so you can focus on keeping your stuff clean and ready to go!
Ensuring Small Appliances Are Spotless and Packed Properly
Small appliances are easier to move, but they still need prep. A toaster with crumbs or a blender with hidden residue can make unpacking unpleasant. Give each item a full check before boxing it up.
Use these move-out tips:
- Unplug and clean each item with a clean cloth
- Remove stains, grime, and residue from jars, trays, or baskets
- Dry every part before safe packing
Wrap cords neatly and pack removable parts so they do not shift. Right before boxing, give the outside a quick buff so dust does not stick as easily. This is also a smart time to clean appliances you do not use often, since moving reveals mess in spots you may not notice day to day.
Let 1-800-PACK-RAT Make Your Moving & Storage Needs Simple!
Keeping your kitchen appliances clean is essential for maintaining a healthy cooking environment and prolonging their lifespan. By following the methods outlined in this guide—from using safe cleaning products to deep cleaning techniques—you can ensure that every appliance shines and functions optimally.
If you need to move or store your stuff, especially your expensive kitchen appliances, let 1-800-PACK-RAT help! We have over 85 warehouse locations across the continental United States that can serve your location. We bring the container to you, you pack at your pace, and we move it locally, long-distance, or place it into storage at our secure facility for as long as you need. No hassles, no stress, no strings attached.

Let us make things simpler today! Give us a call or go online for a free quote now!
Frequently Asked Questions About Appliance Cleaning
What tools make appliance cleaning easier?
A microfiber cloth, a sponge, a spray bottle, and a soft brush make cleaning most appliances easier. They help lift grime without scratching surfaces. Skip steel wool unless a manual clearly allows it, because it can damage finishes and leave marks on metal or coated parts.
Are natural cleaning products safe for all appliances?
Not always. Vinegar and baking soda can help with stains and residue, but some delicate surfaces and coated stainless steel finishes need extra care. Check the owner’s manual first. A natural cleaner may be fine for one appliance and not safe for another.
How long does it take to deep clean a kitchen appliance?
It depends on the appliance and the amount of grease, grime, and stains. A lightly used microwave may take just a short session, while an oven with heavy buildup takes longer. A regular cleaning routine reduces deep-cleaning time because messes do not have time to harden.
What are the best methods for cleaning different types of kitchen appliances?
When cleaning any appliance or household surface, it’s best to begin with the least abrasive approach to avoid damaging finishes. Start by using a soft microfiber cloth dampened with warm water, which is effective for lifting dust, fingerprints, and most light stains without scratching or leaving residue. If you need a bit more cleaning power for spots like grease or sticky buildup, add a small amount of mild dish soap to the water. Gently wipe the surface, making sure not to oversaturate it—especially around buttons or electronic controls.
For tougher grime or specialty finishes such as stainless steel, glass cooktops, or ceramic surfaces, reach for a cleaner specifically formulated for that material. Always check the manufacturer’s recommendations before applying any product to ensure it won’t harm the finish or void your warranty.
Once you’ve cleaned the area to your satisfaction, go over it with a clean, dry microfiber cloth. This removes any lingering moisture and helps prevent streaks or water spots from forming—especially important on shiny surfaces like chrome and glass. Following up with regular gentle cleaning can help keep appliances looking new and functioning well for years to come.
Are there any natural or homemade cleaners that work effectively on kitchen appliances?
Yes, vinegar, baking soda, and lemon juice are popular household solutions that can effectively tackle stains, grease, and odors on many appliance interiors and removable parts. Their natural cleaning properties make them appealing alternatives to chemical cleaners. For example, baking soda acts as a gentle abrasive for scrubbing away residue, while vinegar's acidity helps dissolve mineral deposits and cut through grime. Lemon juice not only adds a fresh scent but also contains citric acid that can help break down stubborn stains.
However, these substances are not suitable for every type of surface or finish. Some materials—such as natural stone (like granite or marble), certain metals (like aluminum or cast iron), and specialty coatings—can be damaged by acids or abrasives. For instance, using vinegar or lemon juice on stainless steel may cause discoloration over time, and abrasive baking soda could scratch delicate surfaces.
It's essential to consult your appliance’s user manual before applying any cleaning solution. If the manufacturer specifies using only soap and water for certain parts or finishes, it's best to follow those instructions to prevent voiding warranties or causing damage. When in doubt, always test a small, inconspicuous area first, or stick to mild dish soap and water for safe, routine cleaning.
In summary, while vinegar, baking soda, and lemon juice offer effective natural cleaning options for many situations, careful consideration is needed to ensure they’re used safely on your appliances without risking damage to sensitive surfaces.
What safety precautions should I take when cleaning electrical kitchen appliances?
Always make sure to unplug electrical appliances before you begin cleaning them. This is important for your safety and helps prevent accidental electric shock. When wiping down the appliance, use a sponge or a clean, damp cloth that is wrung out so it isn’t dripping wet. Take care to keep moisture away from power cords, switches, and any openings or vents on the appliance, as water can damage internal components or cause short circuits.
Never immerse the base of an electrical appliance in water—this includes items like blenders, food processors, coffee makers, and toasters. The electrical components inside the base are not designed to get wet. If necessary, wipe the base with a lightly dampened cloth and then follow up with a dry one.
After cleaning, allow every part of the appliance—including removable parts—to dry thoroughly before reassembling and plugging it back in. Moisture left inside or around electrical connections can be hazardous when electricity is restored. Taking these precautions will help ensure both your safety and the longevity of your appliances.
- Moving Tips (133)
- Home Organization (27)
- News Releases (23)
- Packing Tips (21)
- Fun Stuff (19)
- Portable Storage (16)
- In the Community (11)
- Moving and Storage Tips (11)
- Storage Tips (10)
- Moving Checklists (9)
- Household Moving (7)
- Moving Company Comparisons (5)
- Moving on a Budget (5)
- DITY Move (4)
- Home Maintenance Tips (3)
- Home Buying and Selling Tips (1)
- Interstate Moving (1)


